Direct Publishing
Bulk Articles at Once
Categories & Tags
How the WordPress Integration Works
Agility Writer connects to your WordPress site through the WordPress REST API. Once configured, you can publish any generated article directly to your site as a draft or live post. The integration preserves your HTML formatting, heading structure, images, and internal links exactly as they appear in the Agility Writer editor.
Setting up the connection takes less than two minutes. You need your WordPress site URL and an application password (available in WordPress 5.6+). Enter these in your Agility Writer account settings, and you are ready to publish. No plugins required, no complex authentication flows, and no server configuration changes.
The integration supports multiple WordPress sites. If you manage content for several websites, you can connect all of them and choose which site to publish to for each article. This is particularly useful for agencies managing client content or site owners with multiple niche properties.
Supported Features
The WordPress integration goes beyond basic article publishing. Here is what it handles automatically:
- Post status control: Publish as draft, pending review, or live. Most teams publish as draft for a final review before going live.
- Categories and tags: Assign WordPress categories and tags during publishing. Create new categories on the fly or map to existing ones.
- Featured images: Upload a featured image with your article. Agility Writer can generate an appropriate image placeholder that you replace with your actual featured image.
- Custom post types: Publish to custom post types if your WordPress setup uses them, not just standard posts and pages.
- Author assignment: Assign the published article to any author on your WordPress site for proper byline attribution.
- SEO meta fields: If you use Yoast SEO or Rank Math, the integration can populate your meta title and description fields directly.
Bulk Publishing Workflow
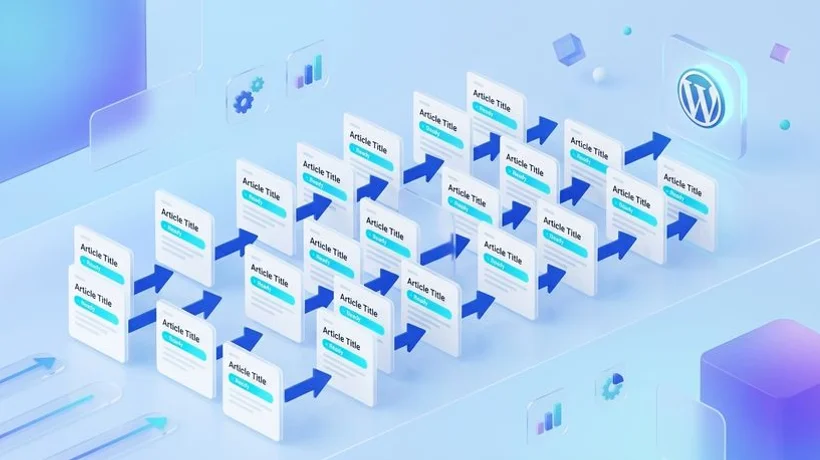
The real power of the WordPress integration emerges when combined with Agility Writer's Bulk Mode. Here is the workflow that content teams use to publish at scale:
- Upload your keyword list to Bulk Mode (up to 200 keywords per batch)
- Configure generation settings: article length, tone, and optimization level
- Start the batch and let Agility Writer generate all articles
- Review generated articles in the dashboard, making any necessary edits
- Select all approved articles and click "Publish to WordPress"
- Choose your target WordPress site, post status, and category
- All articles are published simultaneously with proper formatting
This workflow lets a single content manager publish thirty to fifty optimized articles per day to WordPress. Compared to the traditional process of writing, formatting, uploading, and configuring each post individually, the time savings are measured in hours per article.
Setup Guide
Follow these steps to connect your WordPress site to Agility Writer:
- Generate an application password in WordPress: Go to Users, select your profile, scroll to "Application Passwords," enter a name (e.g., "Agility Writer"), and click "Add New Application Password." Copy the generated password.
- Connect in Agility Writer: Navigate to Settings, then Integrations, then WordPress. Enter your WordPress site URL (including https://), your WordPress username, and the application password you just generated.
- Test the connection: Click "Test Connection." Agility Writer will verify it can communicate with your WordPress REST API and confirm the setup is successful.
- Start publishing: Generate an article, click "Publish to WordPress," select your site, and configure the post settings. Your article will appear in WordPress within seconds.
Troubleshooting Common Issues
If the connection test fails, check that your WordPress site has the REST API enabled (it is on by default in WordPress 5.0+). Some security plugins disable the REST API, so you may need to whitelist the Agility Writer API endpoints. Also verify that your WordPress site uses HTTPS, as the integration requires a secure connection.
For sites behind a CDN or firewall (Cloudflare, Sucuri), ensure the API endpoints are not cached or blocked. Add the REST API path to your CDN's bypass rules if you experience timeouts or authentication errors. If you use a managed WordPress host, check their documentation for any REST API restrictions specific to their platform.